Verify six-axis robot safety by checking mechanical guards, end effector force limits, and software interlocks. This checklist helps engineers confirm compliance with industrial safety standards before a system goes live.
- Verify physical guards, interlocks, and e-stop functions before enabling power.
- Confirm end effector force limits match the application to prevent injury.
- Review software safety cycles to ensure the robot stops correctly on fault.
- Document all checks to create an auditable trail for future maintenance.
1. Verify Physical Guards and Barriers
The first line of defense is the physical enclosure. Before any electrical connection, walk the robot cell and confirm that all fixed guards are in place. Check for gaps at the base, overhead, and around the arm. A guard that is loose or missing a latch creates a pinch point and a bypass path.
Look for signs of wear. Scratches on the guard surface can indicate impact during previous tests. If the guard is a transparent polycarbonate panel, check for cracks. Even small fractures can reduce the panel’s structural integrity.
- Red flag: Guard panels that swing or rattle when touched.
- Red flag: Missing screws or latches on the access doors.
- Red flag: Guarding that does not fully cover the workspace during full arm extension.
If the cell uses a safety light curtain, verify the beams are not blocked by debris. A light curtain that fails to trigger the stop function is a critical fault. Test the curtain by interrupting a beam and observing the robot’s response. The robot must stop immediately. If it continues moving, the system is unsafe.
2. Check End Effector Force Limits
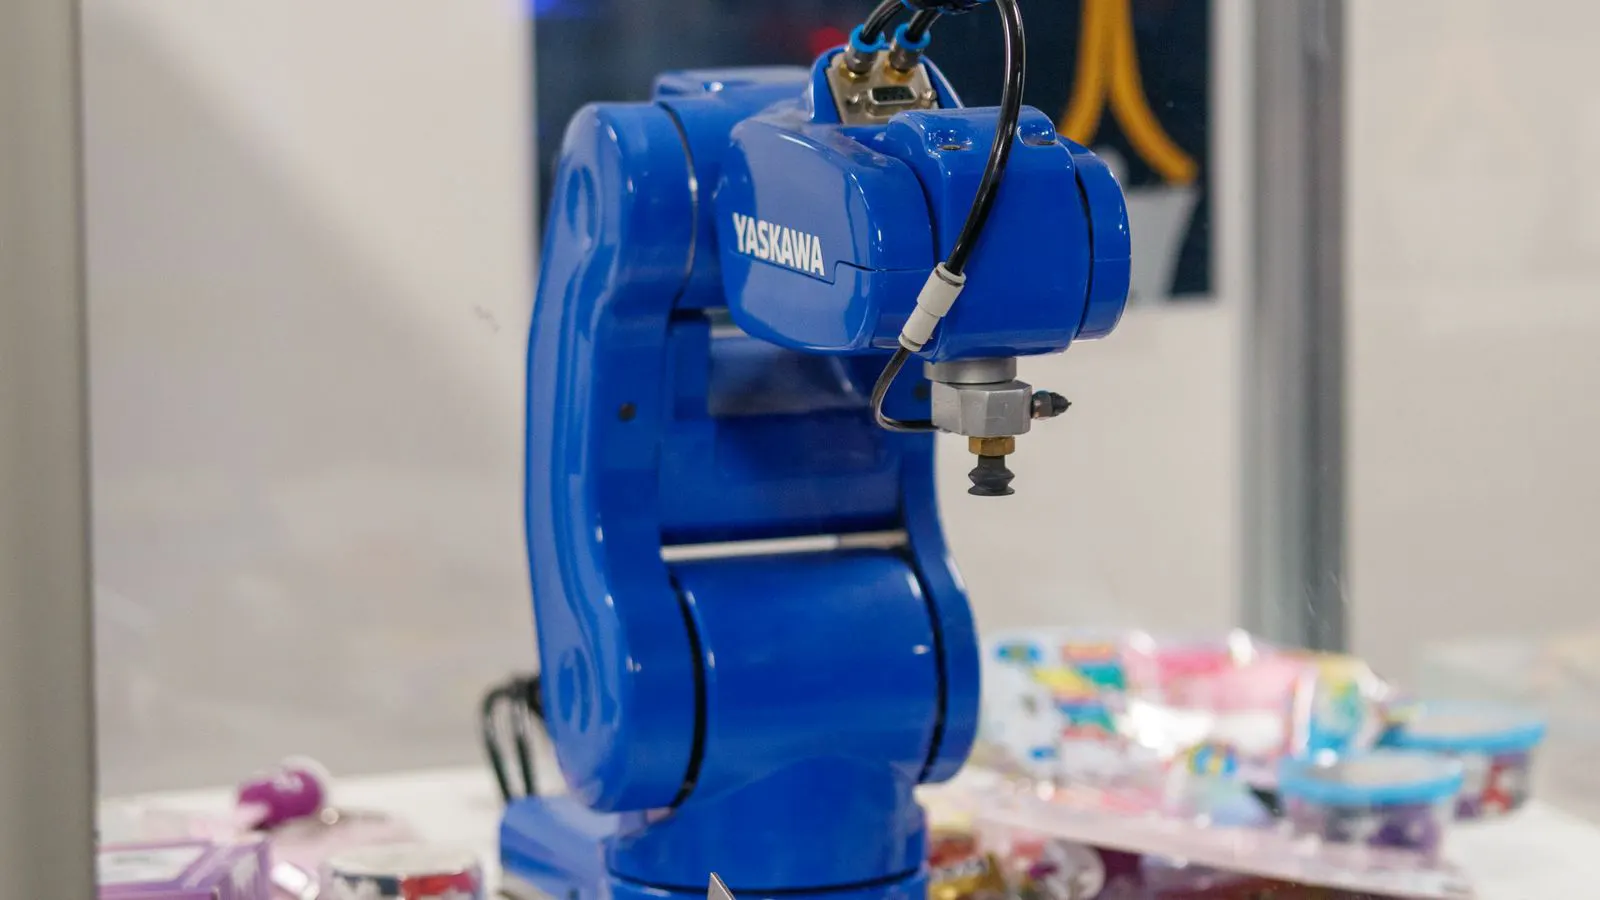
The end effector is the part of the six-axis robot that touches the workpiece. If the robot is picking up a human hand, the force limit is the difference between a safe test and a serious injury. Set the maximum force in the controller software before the first powered test.
Measure the force using a calibrated load cell. Apply pressure to the end effector in all six axes. The controller should trigger a stop or a soft limit when the threshold is reached. If the robot continues to apply force, the limit is not active.
- Red flag: The robot pushes through a soft limit without stopping.
- Red flag: Force limits are set to the maximum possible value.
- Red flag: The end effector has a sharp edge or protruding bolt.
For a picking application, the end effector should grip the part without crushing it. If the part is soft, like a foam block or a fresh product, reduce the grip force. A high force setting can damage the part and also increases the risk of injury if a hand is caught in the gripper.
3. Inspect E-Stop and Emergency Stops
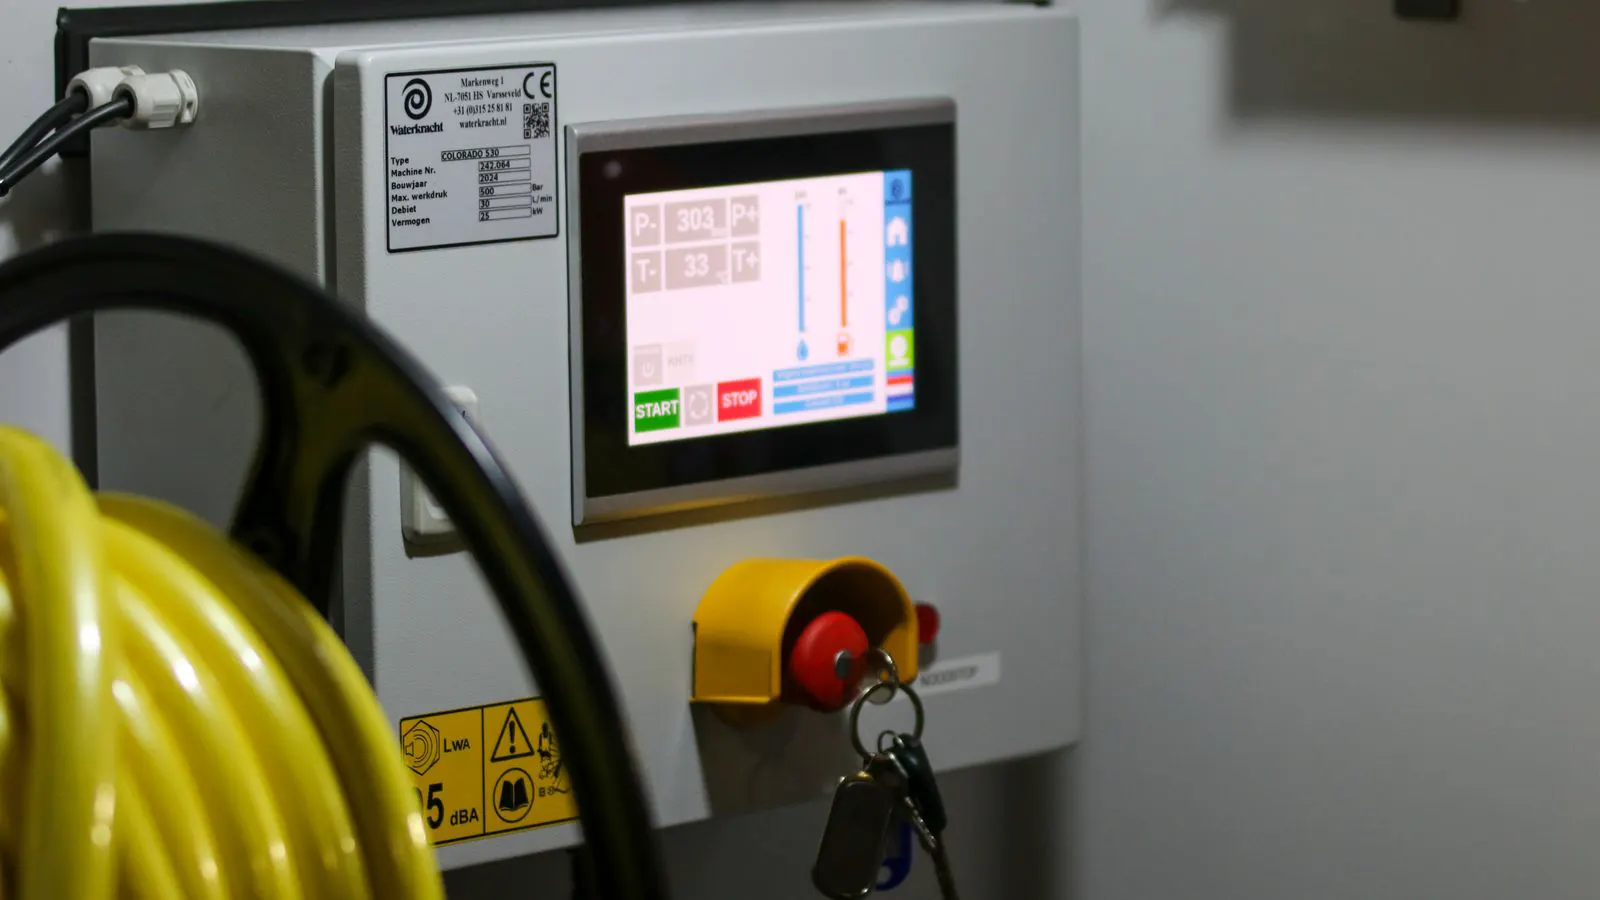
An emergency stop (E-stop) is the fastest way to halt the robot. Every operator and technician should know where the E-stops are located. The E-stop should be red and mushroom-shaped. It should be within reach of the operator at all times.
Test each E-stop individually. Press one and confirm the robot stops. The stop should be immediate, not delayed. A delayed stop suggests a wiring issue or a software delay. Press the E-stop again to reset it. The reset should require a deliberate action, not a single accidental touch.
- Red flag: E-stop buttons are covered by dust or grease.
- Red flag: Wires to the E-stop are kinked or damaged.
- Red flag: The E-stop does not cut power to the servo drives.
Some systems use a safety relay to cut power. Verify that the relay drops out when the E-stop is pressed. If the relay stays engaged, the robot can still move even when the E-stop is active. This is a critical safety failure.
4. Review Software Safety Cycles
The robot controller software manages the safety logic. Before commissioning, review the safety cycle in the controller. The cycle should include a safe stop, a controlled stop, and a fault state. Each state must be defined and tested.
A safe stop cuts power to the servos but keeps the robot in a known position. A controlled stop brings the robot to a stop in a smooth manner. A fault state stops the robot and prevents it from moving until a fault is cleared.
- Red flag: The robot restarts automatically after a fault.
- Red flag: The safety cycle is not documented.
- Red flag: Fault codes are not logged or are cleared without a review.
The software should log every fault and E-stop event. This log is your audit trail. If the robot stops unexpectedly, you need to know why. If the log is empty, the safety system is not recording events. This makes troubleshooting difficult and hides potential issues.
Review the robot’s speed and acceleration settings. A high speed setting can cause the robot to overshoot a limit. A low speed setting is safer but slower. For a commissioning phase, use the lowest speed that still allows the robot to perform the task.
5. Confirm Interlock and Access Control
Interlocks are sensors that detect when a door or guard is opened. When an interlock is triggered, the robot should stop and lock out. Access control ensures that only authorized personnel can enter the cell.
Check all interlock sensors. Press a button on the door latch and confirm the robot stops. If the interlock is a magnetic reed switch, verify that the magnet and the switch are aligned. A misaligned switch may not trigger when the door opens.
- Red flag: Interlock sensors are dusty or covered in metal shavings.
- Red flag: The door latch does not engage fully.
- Red flag: The robot allows access while running.
For a two-person rule, where one person operates the robot and another monitors, verify that the software supports this mode. Some controllers have a two-person control mode that requires both buttons to be pressed. If the software does not support this, do not enable the two-person rule.
6. Validate Torque and Motion Limits
The robot’s torque limits protect the arm from overloading. If the robot reaches a torque limit, it should stop or limit its motion. This prevents damage to the arm and reduces the risk of injury.
Check the torque limits in the controller. Set them based on the application. For a delicate assembly, the torque limit should be low. For a heavy palletizing task, the torque limit can be higher. But even for heavy tasks, set the limit to protect the arm.
- Red flag: The robot moves against a hard stop without a torque limit.
- Red flag: Torque limits are set to zero.
- Red flag: The arm vibrates at the limits.
Test the torque limit by pushing the arm against a fixed object. The robot should stop or reduce its force when the limit is reached. If it continues to push, the limit is not active. This can damage the arm and injure anyone in the path.
7. Document and Sign Off
The final step is documentation. Every check you perform must be recorded. Use a commissioning checklist. Mark each item as passed or failed. If an item fails, fix it and re-test.
The documentation should include the date, the name of the person performing the check, and the result. This creates a record that the safety systems were verified. If a problem occurs later, this record shows that the safety systems were checked and passed.
- Red flag: The checklist is not signed.
- Red flag: Failed items are not corrected or documented.
- Red flag: The documentation is lost or incomplete.
Keep the documentation with the robot’s maintenance records. When a new technician joins the team, they can review the checklist and understand the safety setup. This reduces the risk of human error and ensures that safety is not forgotten.
| Check Item | Pass Criteria | Red Flag |
|---|---|---|
| Physical Guards | No gaps, no cracks, fully closed | Loose latches, missing panels |
| E-Stop Function | Immediate stop, no auto-restart | Delayed stop, no power cut |
| End Effector Force | Stops at set limit, no overshoot | Pushes through limit, sharp edges |
| Interlock Sensors | Triggers stop on open, no bypass | Dusty sensors, misaligned switches |
| Torque Limits | Stops at set torque, no vibration | Zero limits, hard stops |
| Documentation | All items signed, dates recorded | Unsigned checklist, missing logs |
8. Final Walkthrough
Before you enable the robot for production, do a final walkthrough. Walk the cell slowly. Look at the guards, the E-stops, and the interlocks. Confirm that everything is in place.
Speak with the operators. Ask them where the E-stops are. Ask them what to do in an emergency. If they do not know, provide training. A safety system is only as good as the people who use it.
- Red flag: Operators do not know the location of E-stops.
- Red flag: No training has been provided on safety procedures.
- Red flag: The cell is cluttered with tools and parts.
A cluttered cell creates trip hazards and can block access to safety devices. Clear the cell before go-live. Keep the area around the robot clean and organized.
By following this checklist, you verify that the six-axis robot is safe to operate. You protect your operators, your product, and your investment. Safety is not an afterthought. It is the foundation of a reliable and compliant robot cell.
Frequently asked questions
Do I need to test the E-stop every time before commissioning?
Yes. Test every E-stop before the first powered test. This confirms that the wiring and safety relay are functioning correctly.
Can I set the torque limits higher to improve speed?
No. Higher torque limits increase the risk of injury and damage. Set the limits based on the application and the robot's rated capacity.
What if an interlock sensor is dusty?
Clean the sensor immediately. Dust can prevent the sensor from detecting an open door. A failed interlock is a critical safety issue.
Do I need a two-person rule for every robot?
No. The two-person rule is only required for specific applications, such as when the robot can injure a person. Check your local safety standards.
How do I document the commissioning checks?
Use a checklist. Record each check, the date, and the result. Sign the checklist and keep it with the robot's maintenance records.